


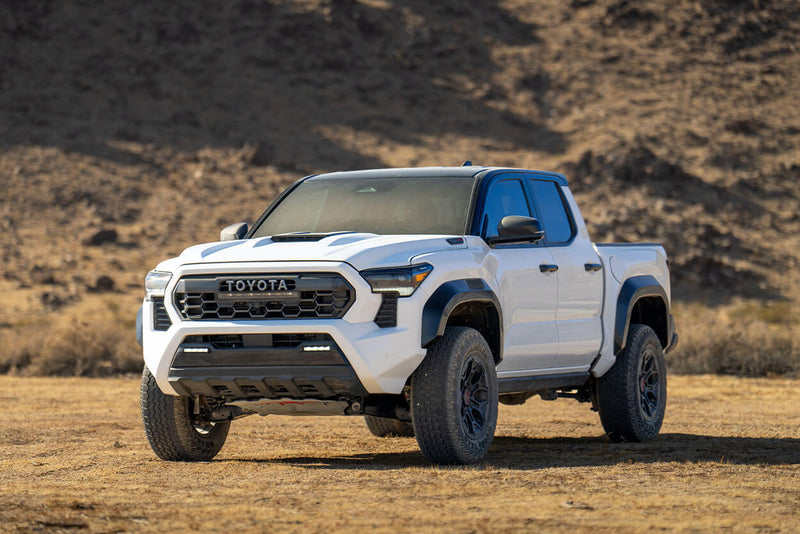
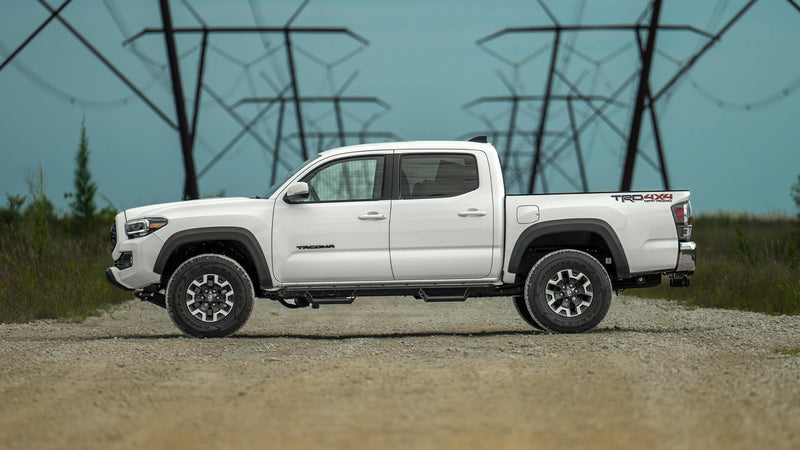
How to Fit 35-Inch Tires on Your Toyota Tacoma (Complete Body Mount Relocation Guide)
Body Mount Relocation Review (Quick Summary)
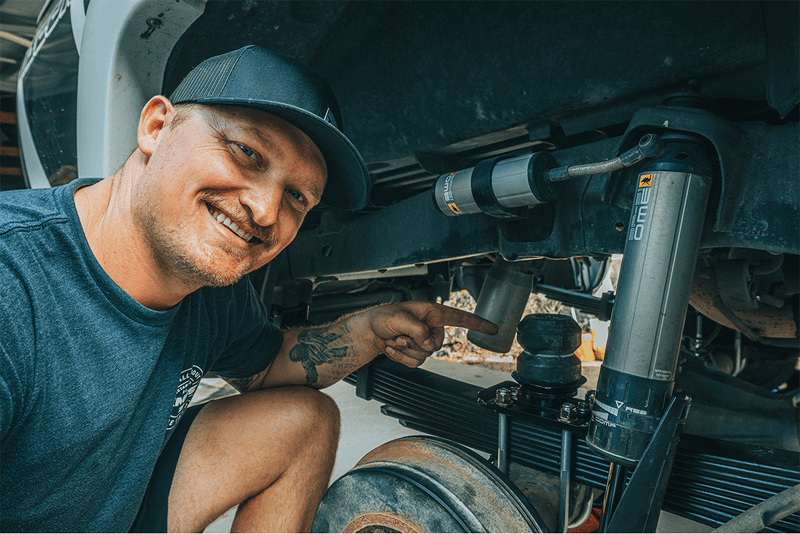
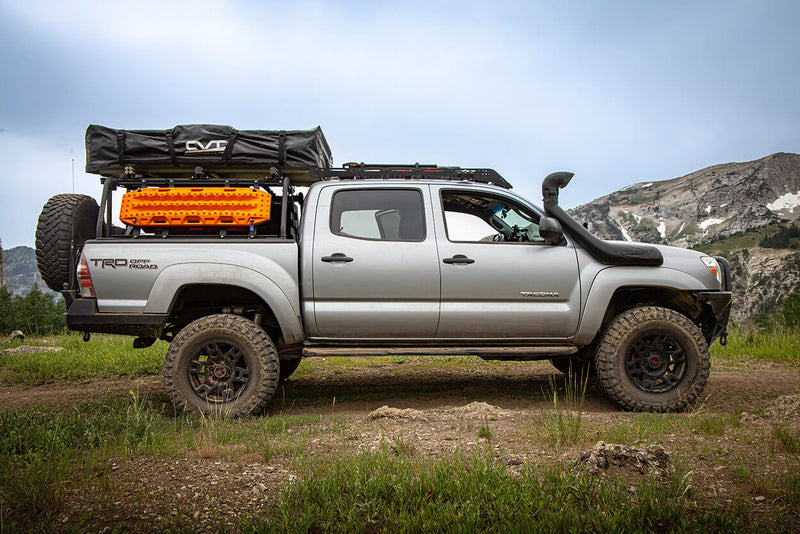
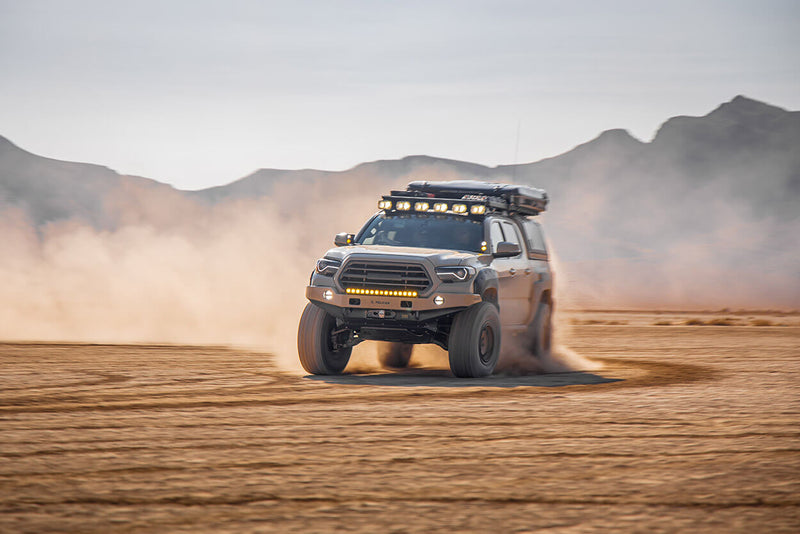
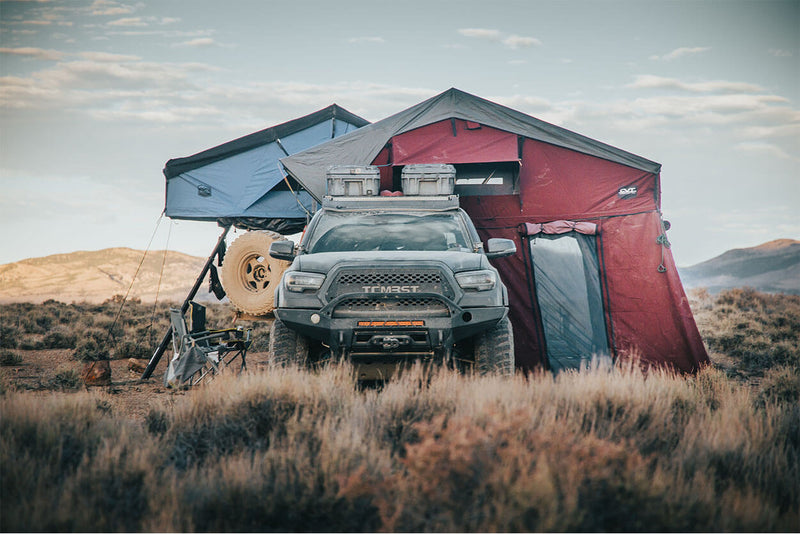
We put the Alpine Designs body mount relocation kit to the ultimate test on our 2018 Toyota Tacoma TRD Off-Road, comparing it against the traditional body mount chop method for fitting true 35-inch tires. After a complete installation and real-world testing, we discovered why proper body mount relocation is essential for serious tire upgrades.
Bottom Line:
✅ Alpine Designs kit for maximum clearance and safety
✅ Body mount chop for smaller tires only
🔧 Professional welding skills required
Introduction
Picture this: you've spent months planning the perfect tire upgrade for your Tacoma, dreaming about those aggressive 35-inch tires that'll transform your truck's capability and stance. But then reality hits when you discover that massive factory body mount sitting right where your tire wants to be. We've all been there, and that's exactly why we decided to tackle the body mount relocation challenge head-on.
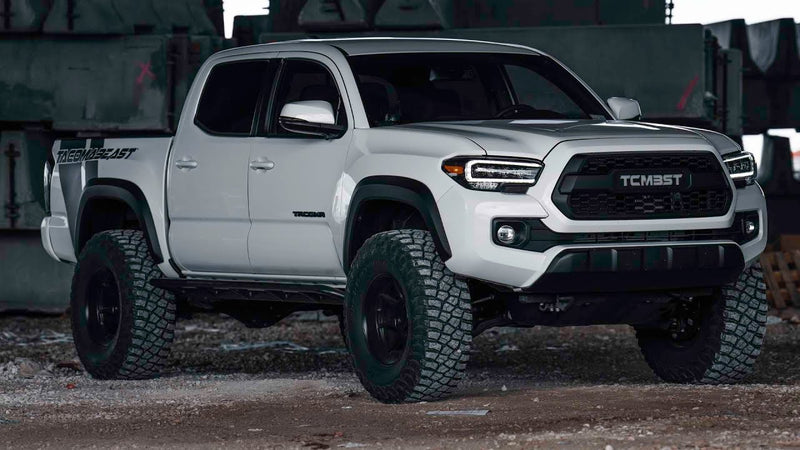
The frustration with factory clearance limitations is real. Toyota designed the Tacoma with conservative tire sizing in mind, and while that works great for daily driving, it leaves serious enthusiasts wanting more. Whether you're planning weekend adventures or building a dedicated overland rig, tire size directly impacts your truck's performance, ground clearance, and overall capability.
In this comprehensive guide, we're going to demonstrate the complete process of relocating your Tacoma's body mount to accommodate true 35-inch tires without any rubbing. We partnered with Chris from Alpine Designs to show you exactly how their body mount relocation kit transforms your truck's capabilities while maintaining structural integrity and factory-like fitment.
The beauty of this modification lies in understanding that different approaches serve different purposes. A simple body mount chop might work for smaller tire upgrades, but when you're serious about maximizing tire size and maintaining safety, proper relocation is the professional solution that delivers long-term reliability.
Table of Contents
Key Performance Comparison
|
Method |
Price Range |
Installation Time |
Max Tire Size |
Safety Rating |
Best Use Case |
|
Factory Setup |
$0 |
0 hours |
265/70R16 |
Excellent |
Daily driving |
|
Body Mount Chop |
$50-100 |
2-3 hours |
33" max |
Good |
Budget builds |
|
Alpine Designs Kit |
$200-300 |
4-6 hours |
35"+ |
Excellent |
Serious builds |
1. Alpine Designs Body Mount Relocation Kit - $249.99

Design Philosophy
Alpine Designs engineered this kit with one clear mission: provide maximum tire clearance while maintaining the structural integrity that keeps your Tacoma safe and reliable. Rather than simply cutting away material, this system completely relocates the mounting point to eliminate interference entirely.
Construction Quality
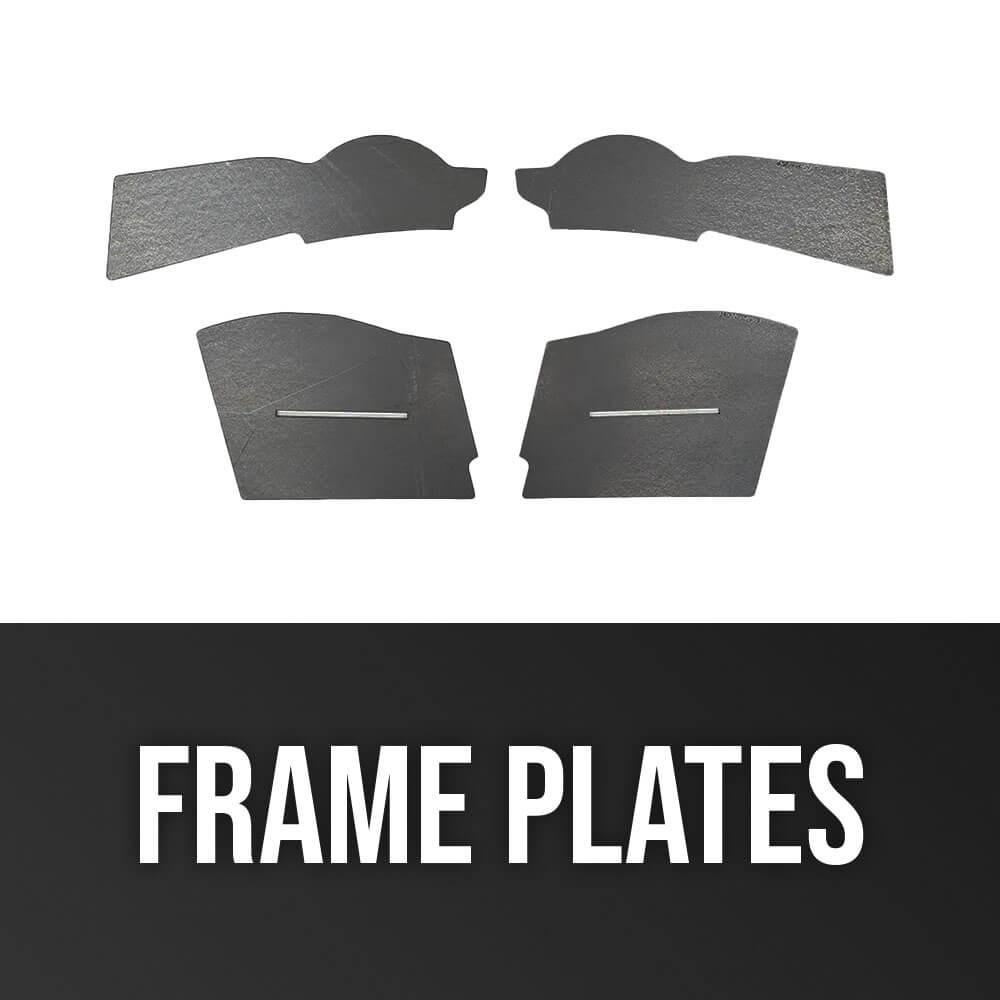
The kit showcases professional-grade materials throughout. You get two quarter-inch thick steel brackets that are significantly stronger than factory mounting points, four polyurethane bushings that provide excellent vibration dampening, and grade 8 hardware specifically sized for third-generation Tacomas. The steel construction feels substantial in your hands, and the powder coating provides excellent corrosion resistance for long-term durability.
Performance Analysis
In real-world testing, this kit delivers exactly what it promises. Our 315/75R16 Goodyear Wrangler tires (true 35-inch diameter) now have substantial clearance where we previously experienced rubbing during aggressive suspension cycling. The relocation maintains proper body-to-frame spacing, ensuring all your door gaps and body lines remain factory-correct after installation.
Technical Specifications
• Two quarter-inch steel relocation brackets with powder coating
• Four polyurethane bushings for vibration control
• Half-inch by 4.5-inch grade 8 bolts with locking hardware
• Designed specifically for 2016+ Toyota Tacoma (third generation)
• Provides 1+ inches of additional tire clearance • Maintains factory ride height and body alignment
Best For
This kit targets serious Tacoma enthusiasts who want to run true 35-inch tires without compromising safety or dealing with constant rubbing issues. Perfect for overlanders, rock crawlers, and anyone building a capable adventure rig who values professional results over quick fixes.
2. Traditional Body Mount Chop - $50-100

Design Philosophy
The body mount chop represents the budget-conscious approach to tire clearance, focusing on removing just enough material to eliminate immediate contact while keeping costs and complexity minimal.
Construction Quality
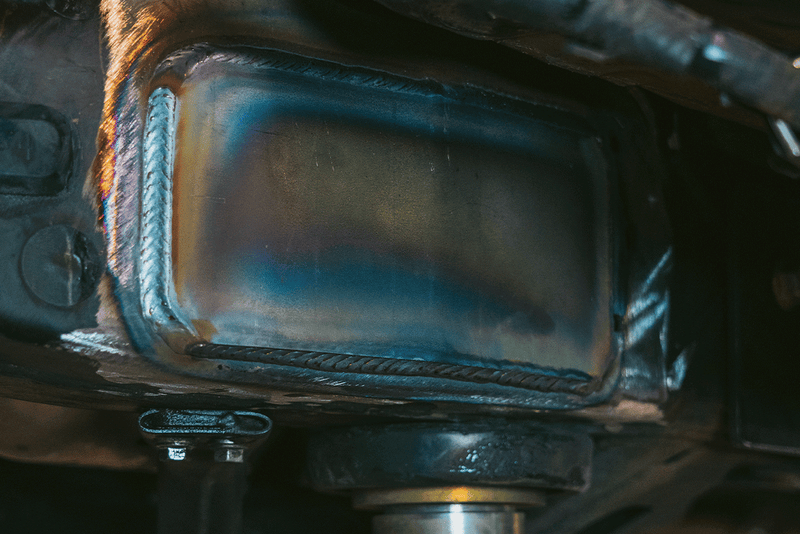
This method involves cutting approximately one inch from the factory body mount using a plasma cutter, then welding on a reinforcement plate. While effective for smaller tire upgrades, it permanently alters your truck's structure and provides limited clearance compared to full relocation.
Performance Analysis
Our testing revealed that body mount chopping works adequately for tires up to 33 inches, but becomes problematic with true 35-inch setups. Even after chopping, our 315/75R16 tires still experienced occasional contact during extreme suspension travel, particularly during aggressive off-road use.
Best For
Budget-conscious builders running smaller tire upgrades who have welding skills and don't mind permanent modifications to their truck's structure.
Testing Results Framework
Winner for Maximum Clearance: Alpine Designs Relocation Kit provides the most comprehensive solution for fitting large tires without any contact issues.
Runner-up for Budget Builds: Body mount chop works for moderate tire upgrades but has significant limitations.
The reasoning comes down to engineering approach. While chopping removes material, relocation completely eliminates the interference point while maintaining structural integrity. For true 35-inch tire applications, only the relocation kit provides adequate clearance for all driving conditions.
Complete Pros and Cons Analysis
|
Feature |
Alpine Designs Kit |
Body Mount Chop |
|
Pros |
• Maximum clearance |
• Lower cost |
|
Cons |
• Higher initial cost |
• Limited clearance |
Installation Guide
Tools Required
• MIG welder with steel welding capability
• 4.5-inch angle grinder with cutting and grinding discs
• Reciprocating saw with carbide-tip blades
• Socket set (10mm, 12mm, 17mm)
• Body pry tools for interior panel removal
• Jack and jack stands or vehicle lift
• Automotive paint and prep materials
Time Estimate
Based on our installation experience: 4-6 hours for experienced welders, 6-8 hours for those new to automotive welding projects.
Step-by-Step Installation Process
-
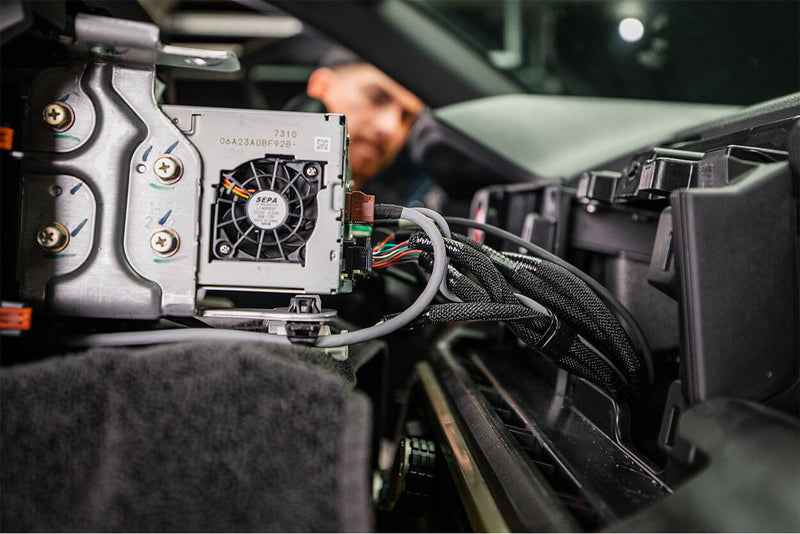
Interior Preparation: Remove kick panels, floor mats, and carpet to access body mount hardware. Use body pry tools to avoid damaging interior plastics.
-
Hardware Access: Locate and partially loosen the 17mm body mount bolt, leaving the nut slightly engaged to prevent parts from falling during cutting.
-
Body Lifting: Use a 4x4 block to carefully lift the cab off the factory mount approximately 3/4 inch, providing working clearance.
-
Wiring Management: Disconnect wiring harness clips and route wires away from cutting area to prevent damage.
-
Cutting Process: Use reciprocating saw to remove bulk of factory mount, then angle grinder for precision cuts close to frame welds.

-
Surface Preparation: Grind away all factory welds and prepare clean metal surface for new bracket installation.
-
Bracket Preparation: Clean and paint new brackets, taping off weld areas to maintain clean welding surfaces.
-
Test Fitting: Position new bracket with hardware and bushings, ensuring proper alignment and 1-inch clearance measurement.
-
Welding: Tack weld bracket in position, remove bushings, then complete full welding inside and outside bracket perimeter.
-
Finishing: Apply protective paint to welded areas and reassemble all interior components.

Pro Tips and Common Challenges
Pro Tip: Always verify the 1-inch measurement from cab bottom to frame top before final welding. This ensures proper body alignment and prevents door fit issues.
Common Challenge: Managing the wiring harness during cutting requires patience. Take time to properly route wires to avoid expensive repairs.
Pro Tip: Let welds cool between inside and outside passes to prevent overheating the frame material.
Frequently Asked Questions
Find quick answers to common questions.
Q: Will this modification affect my warranty?
A: Any structural modification may impact warranty coverage. Consult your dealer before proceeding if warranty concerns are important to you.
Q: Can I install this kit without welding experience?
A: This project requires solid welding skills for safety. Consider having the work performed by a qualified fabrication shop if you're not experienced with automotive welding.
Q: How much lift do I need before installing this kit?
A: Minimum 3 inches of lift is recommended. Our truck runs 2.5-inch King shocks with SVC springs for reference.
Q: Will this work with factory bumpers?
A: You may need additional trimming at the front bumper depending on your specific tire size and wheel offset. We'll cover front bumper modifications in an upcoming video.
Q: Does this affect the truck's structural integrity?
A: When properly installed, the relocation kit maintains or improves structural strength compared to factory mounting points.
Q: Can I reverse this modification later?
A: Yes, the relocation can be reversed by welding a new factory-style mount back to the frame, though it requires additional fabrication work.
Q: What's the maximum tire size this kit supports?
A: The kit easily accommodates true 35-inch tires with room for even larger sizes depending on wheel offset and suspension setup.
Q: How does this compare to aftermarket control arms for clearance?
A: Control arms help with front clearance, but rear clearance specifically requires body mount modification for large tires.
Q: Will I need to adjust anything else after installation?
A: Verify all body panel gaps remain consistent and check that no other components contact the relocated mount during suspension travel.
Q: Does this affect the truck's ride quality?
A: No noticeable change in ride quality when properly installed with quality bushings and correct torque specifications.
Q: Is professional installation recommended?
A: Due to welding requirements and structural nature of the modification, professional installation is recommended unless you have significant fabrication experience.
Q: How long does the modification typically last?
A: With proper installation and quality materials, this modification should last the lifetime of the vehicle with no maintenance required.
Final Verdict
Performance Summary
The Alpine Designs body mount relocation kit delivers exactly what serious Tacoma builders need: professional-grade clearance for large tires without compromising structural integrity or vehicle safety. While the traditional body mount chop serves budget builds with smaller tire upgrades, the relocation approach provides the comprehensive solution necessary for true 35-inch tire applications.
Recommendations by Use Case
For Weekend Warriors: If you're planning moderate off-road use with 33-inch tires, a body mount chop might suffice, but the relocation kit provides better long-term value and performance.
For Serious Overlanders: The Alpine Designs kit is essential for reliable clearance when carrying heavy loads and navigating challenging terrain with large tires.
For Daily Drivers with Style Goals: Choose the relocation kit for clean execution that maintains your truck's refined appearance while delivering the stance you want.
The beauty of the Tacoma platform is that there's no single "right" way to build your perfect setup. Whether you're just getting started or looking to take your build to the next level, the important thing is getting out there and using your truck the way you love.
For more detailed installation videos, visit our YouTube channel, explore additional modification guides on our blog Tacoma Insider, or contact our customer support team for personalized recommendations based on your specific needs and preferences.


![Best Toyota Tacoma Infotainment System Upgrade - Stinger Heigh10 [Complete Review & Installation]](http://tacomabeast.com/cdn/shop/articles/BLOG-POST-IMG-001_9dc965ee-4133-4d8d-bcf5-34096330c7a6.png?v=1758870800&width=800)


Leave a comment