Description
Get the look and feel of a modern luxury vehicle. Footwell lighting gives a sense of spaciousness and comfort while providing illumination to the darkest areas. Adding light to both driver and passenger footwell areas is easy with a VLEDS Tacoma footwell kit!
Dual Output The PWM dimmer module allows for two output modes depending on the scenario.
- COURTESY MODE: The lights are at full output (200LM per side) when the door is open and fades out with the map and dome light when the door is closed.
- NIGHT MODE: This gives you an adjustable low output light when the door is closed and the parking or headlights are switched on. This drops the output to approximately 10LM on the lowest setting. If you want it brighter simply use the included screwdriver and turn it up to your liking.
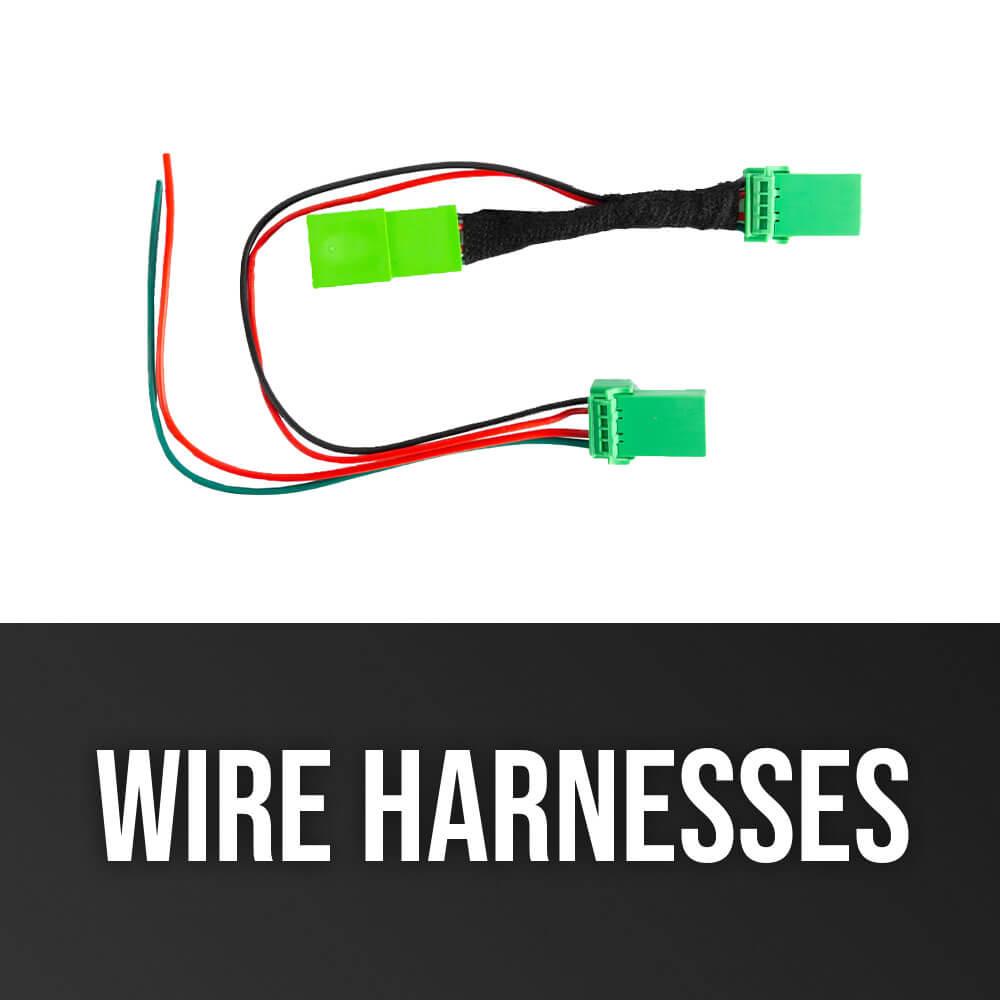
Plug-n-Play No splicing or tapping into your factory wires! The Redside Electric OEM-style breakout harness simply plugs into the factory wiring harness. From there, connections are easily made to the PWM module and two striplight bars. For more detailed instructions see the instructions tab.
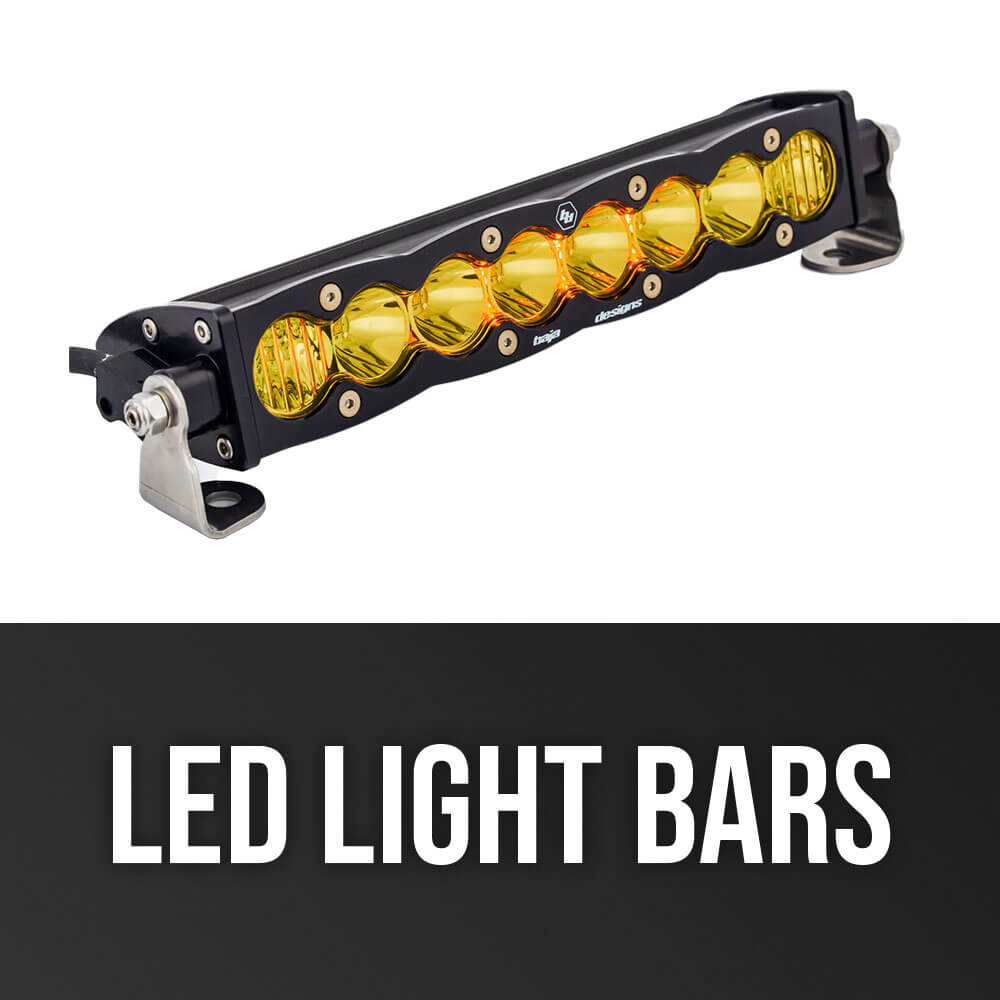
5X Brighter The striplight bars are small in size but produce a huge amount of light compared to cheap flexible strip lights that are ten times the size. No plastic or fiberglass parts here! The circuit boards are aluminum metal core PCBs housed in a CNC'd aluminum (not cast) body then finished with a high-quality exterior-grade black anodizing. They not only look amazing but they will last you for years!
Rear add-on kits are also available.
KEY FEATURES
- Easy Install Plug and play OEM-style breakout harness (installs near ECU)
- Aluminum Beautifully CNC'd all-aluminum body striplight bar with satin black anodized finish
- Driver Built-in current limiting resistor and diode protects the strip from reversed polarity installation
- Connections Over-molded 2 pin connectors for easier installation and better reliability
- Mounting Super-strong 3M double-sided tape for mounting
- Proprietary 21x 3014 chips mounted to on an aluminum PCB that match all VLEDS LED bulbs
SPECIFICATIONS
- OUTPUT 400LM TOTAL
- CURRENT DRAW @ 14.4V 0.5A
- OPERATING VOLTAGE 12-18V
- LIGHT SOURCE 3014 Proprietary Chip
- DRIVER STYLE Resistors
WHAT'S INCLUDED
- 2x BAR_21 LED Bar Light
- 2x BAR_21 LSE VHB Tape for Smooth Surfaces
- 1x VLEDS High/Low PWM Dimmer
- 1x Dimmer LSE Mounting Tape
- 1x PWM Adjustment Screwdriver
- 1x Redside Electric OEM-style Breakout Harness
- 1x 4 Foot Wire Extension
- 8x Small Zip Ties
INSTRUCTIONS
- Remove driver side kick panel.
- Plugin breakout harness to match ECU plug.
- Attach PWM dimmer to the mating plugs. High should be plugged into wire labeled "high". Low should be plugged into wire labeled "low".
- Findspot for PWM dimmer and use provided tape to mount.
- Remove any oils on the dash before mounting bar lights using rubbing alcohol and rag.
- Mount driver sidebar light using provided tape.
- Route 4 foot extension behind the dash and across the transmission tunnel.
- Plug extension into driver sidebar and passenger sidebar. Clean dash and mount passenger sidebar light using provided tape.
- Use provided zip ties to secure any loose wiring.
- Re-install kick panel and any other plastics removed during installation.
YOU MAY ALSO LIKE
2016-2023 Toyota Tacoma Complete Interior LED Kit + Coin Bucket Bundle
Hood QuickLIFT PLUS Fits 2024+ Toyota Tacoma
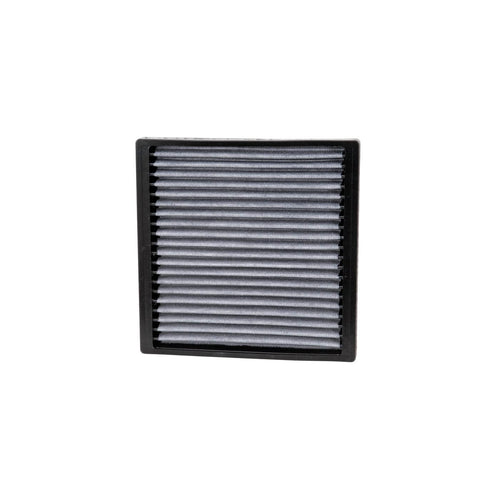
Cabin Air Filter Fits 2005-2023 Toyota Tacoma
BEST-SELLERS
View allTestimonials
LATEST FROM OUR YOUTUBE CHANNEL
Tacoma Insider
Explore our latest articles, guides, and insights to help you stay informed and inspired.
Topics

Top 3 Best Exhaust Systems For Your 2024+ Toyota Tacoma (Full Review)

K&N Cold Air Intake 2024 Tacoma Review: Before vs After Install + Sound Test
2024 Toyota Tacoma Audio Upgrade: Orrella Acoustics Amplifier Review

2nd Gen Tacoma Perfect Daily: Complete 2015 TRD Pro Build

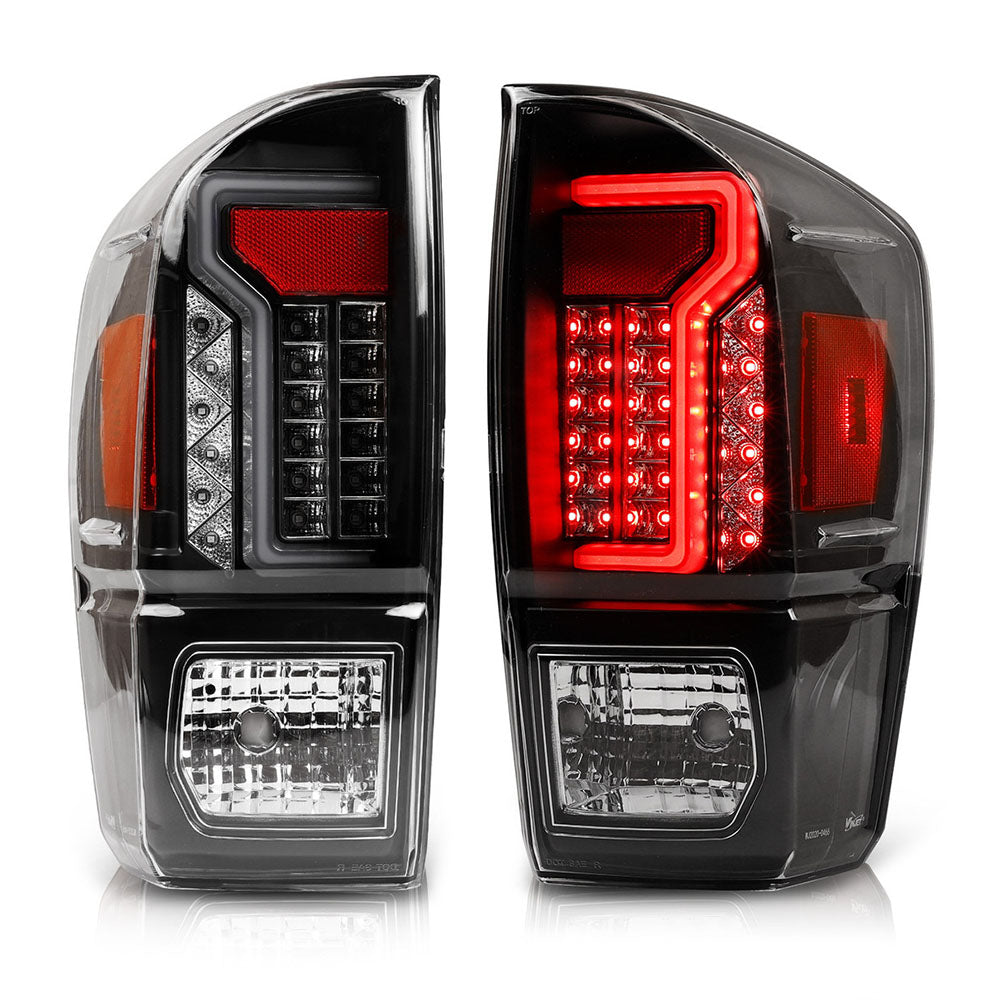
The 5 Best Toyota Tacoma Tail Lights: Complete Comparison and Installation Guide

You're Ruining Your Toyota Tacoma! Here's 8 Must-Have Interior Mods
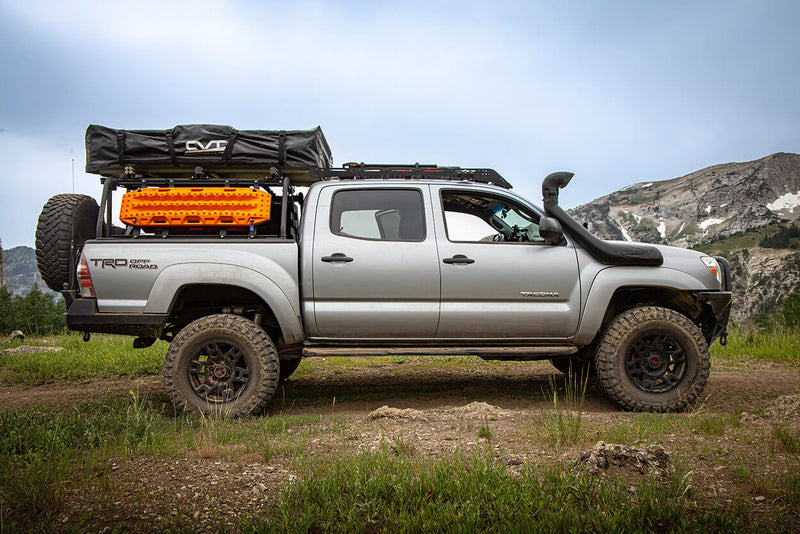
Top 5 Bed Racks for Toyota Tacoma

The 3 Best Exhaust Systems for Your 3rd Gen Tacoma
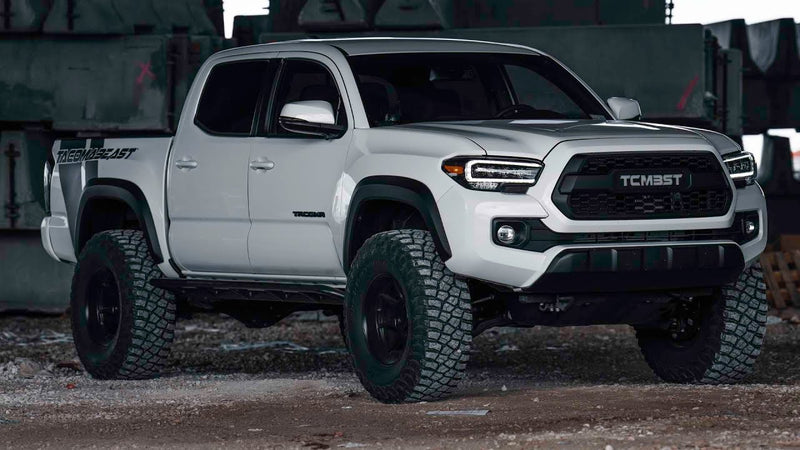
The Perfect Toyota Tacoma Daily Setup

Tacoma Roof Racks Compared: Top 5 Picks for Your Build

Ultimate Toyota Tacoma Build: How I Transformed My 2024 Tacoma with $15,000 in Upgrades

The Hell Taco: A Mind-Blowing 2016 Toyota Tacoma with Hellcat Engine Swap

Building a Custom Tacoma Front Bumper: Step-by-Step Process Revealed

From Off-Road to On-Track: This 500HP K-Swapped Tacoma Drift Truck Breaks All the Rules

My 2024 Toyota Tacoma Owner’s Review: 5 Pros and Cons

Toyota Tacoma Rear Seat Delete: The Ultimate Storage Solution

6 Toyota Tacoma Suspension Upgrades Worth Getting
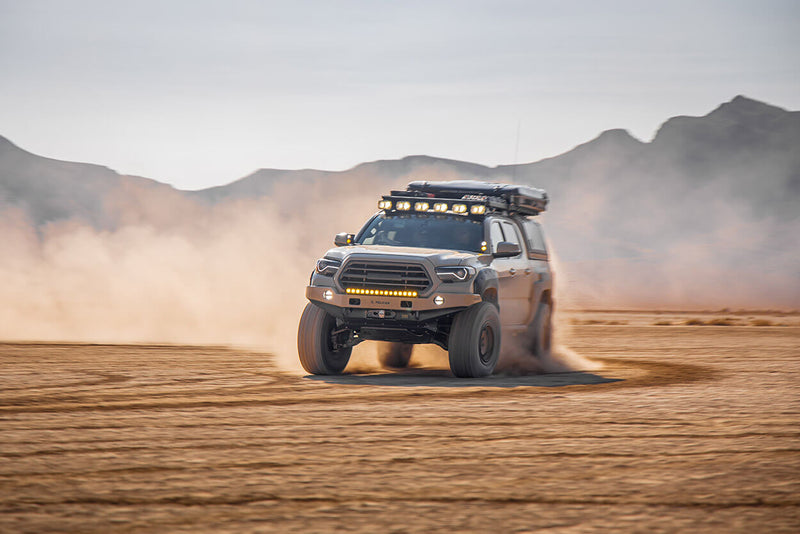
How Much Horsepower Does a Toyota Tacoma Have?
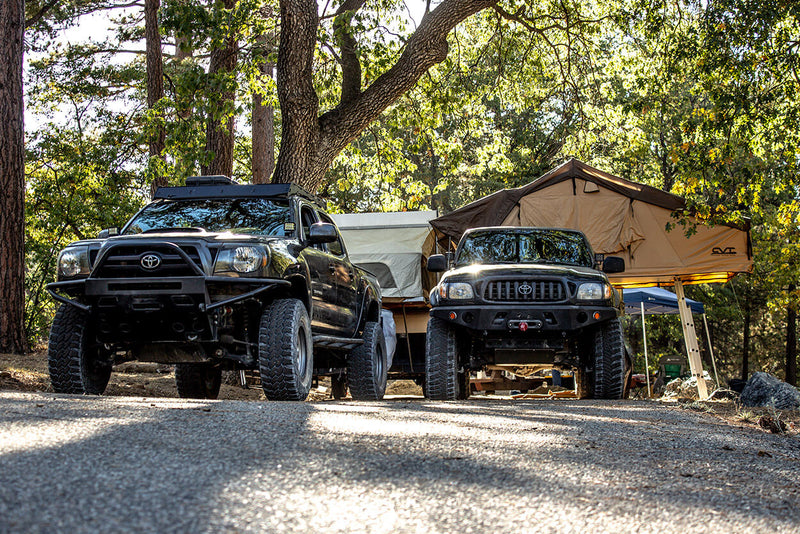
Buying a Used Toyota Tacoma: Everything You Need to Know
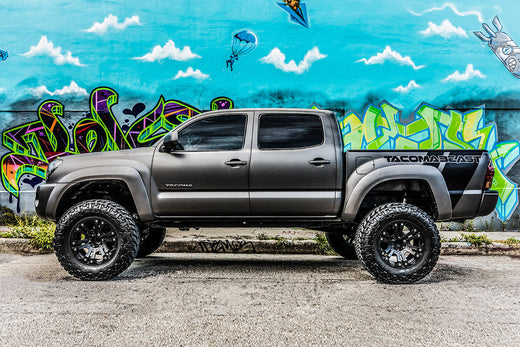
2nd Gen Tacoma Lift Guide
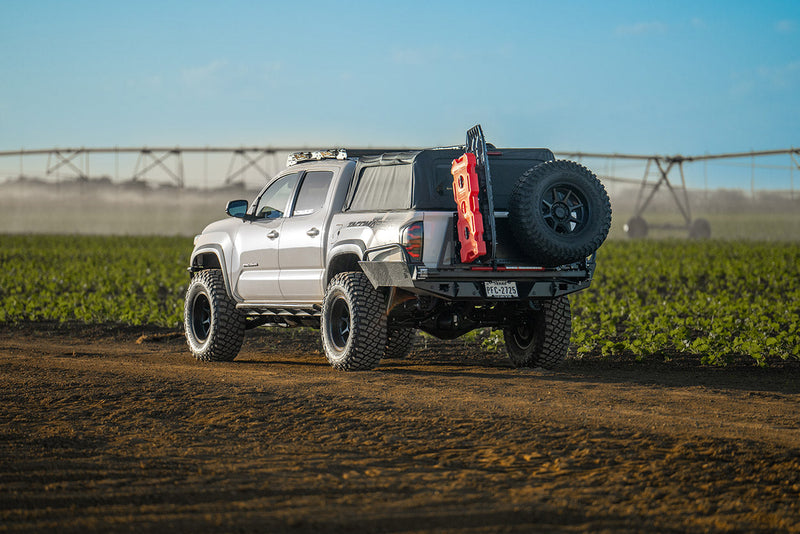
The Best Bed and Tonneau Covers for Your Toyota Tacoma

Top 5 Bed Racks for Toyota Tacoma

What is the Most Luxurious Toyota Tacoma on the Market?
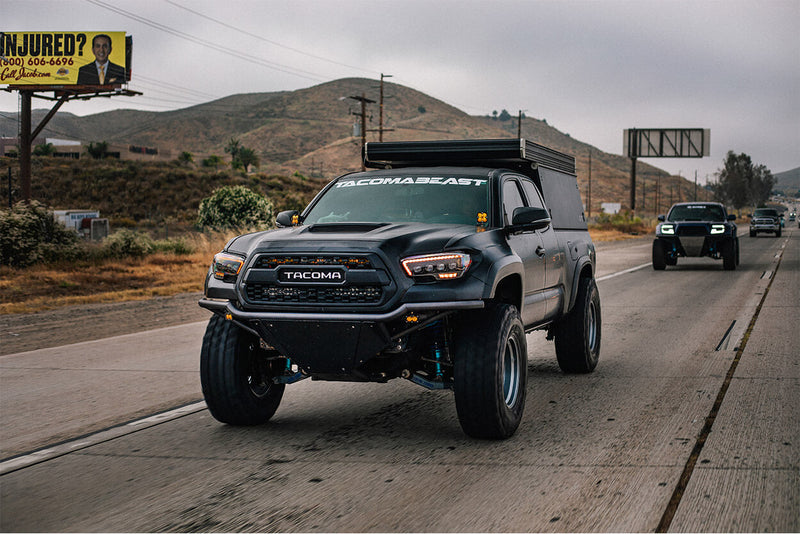
The 5 Best Tacoma Headlights on the Market

Are Toyota Tacomas Reliable? Let’s get to the facts
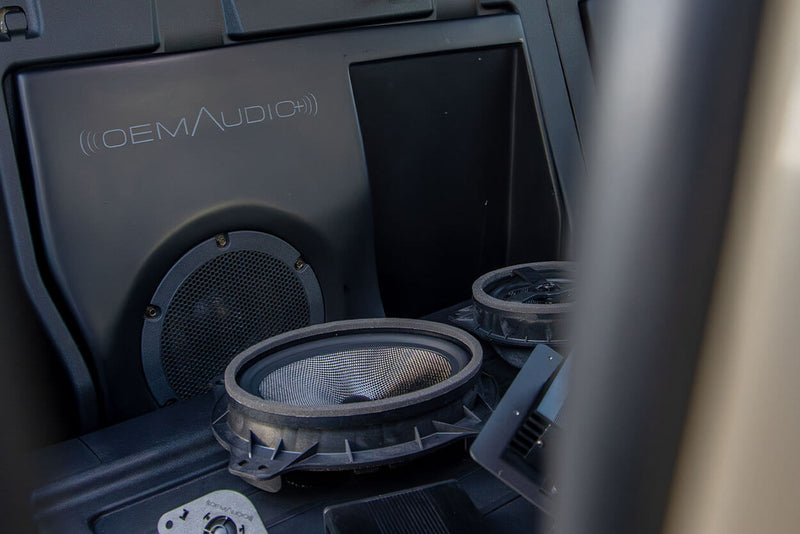
What are the Best Sound Systems to Buy for Your Toyota Tacoma?

The Ultimate Toyota Tacoma Camping Setup
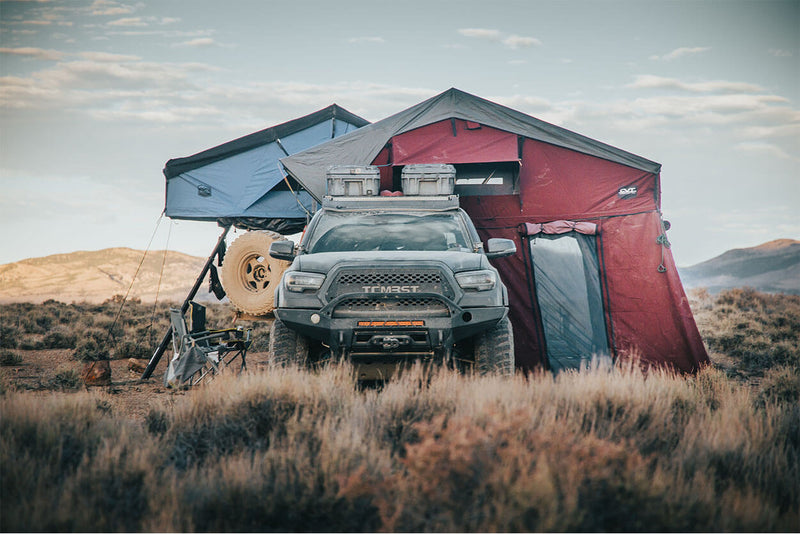
Why the Toyota Tacoma is the Best Truck for Overlanding
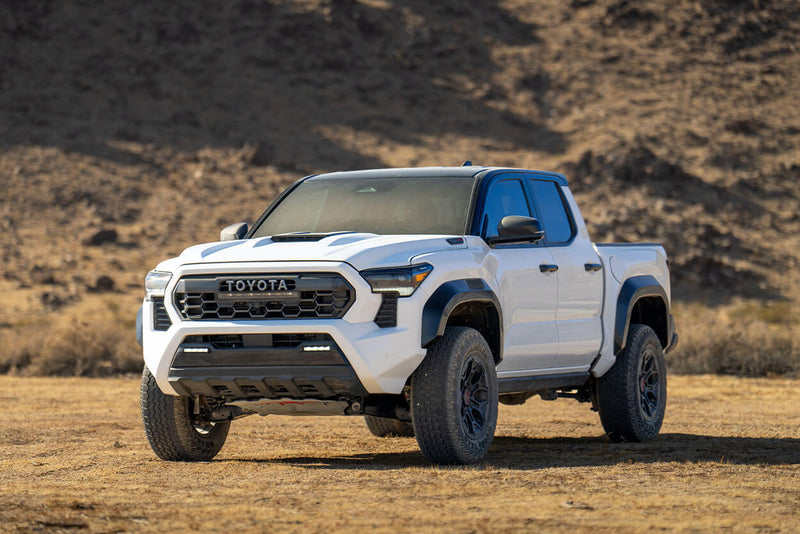
The New 2024 Toyota Tacoma TRD Pro - Review, Pricing, and Specs
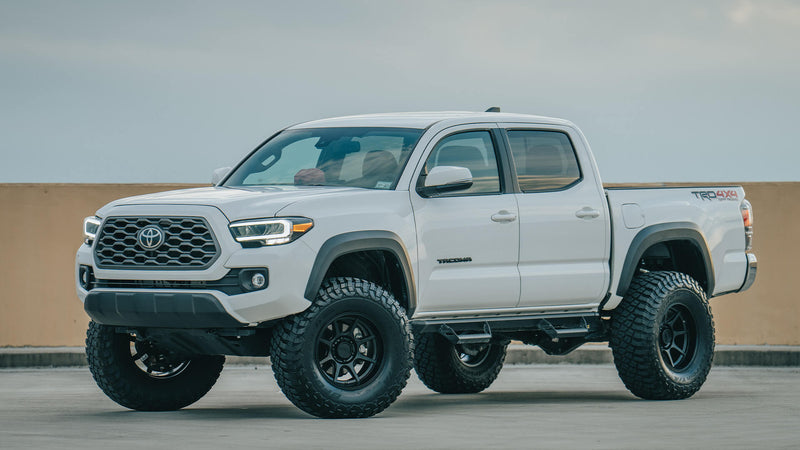
How to Improve Gas Mileage on a Toyota Tacoma
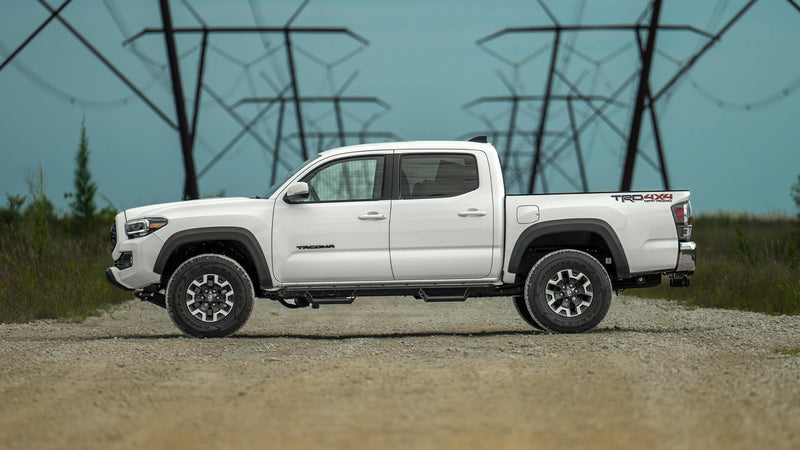
How Long Does it Take to Build a Toyota Tacoma?
When To Regear My Toyota Tacoma?
How to Wire Switches and Accessories on Your Toyota Tacoma
The Best Toyota Tacoma Seat Covers
Toyota Tacoma Built For Africa
Jillian Rebekah’s Toyota Tacoma

Toyota Tacoma Brake Upgrade Performance Test
The Ultimate Toyota Tacoma Luxury Motorhome
How To Fix Your Toyota Tacoma Vibrations

Top 5 Toyota Tacomas at the Inaugural Overland Expo Mountain West 2021
Start Your Toyota Tacoma with Your Key Fob and Phone

