Building a Custom Tacoma Front Bumper: Step-by-Step Process Revealed
Table of Contents
Introduction: The Art of Custom Bumper Fabrication
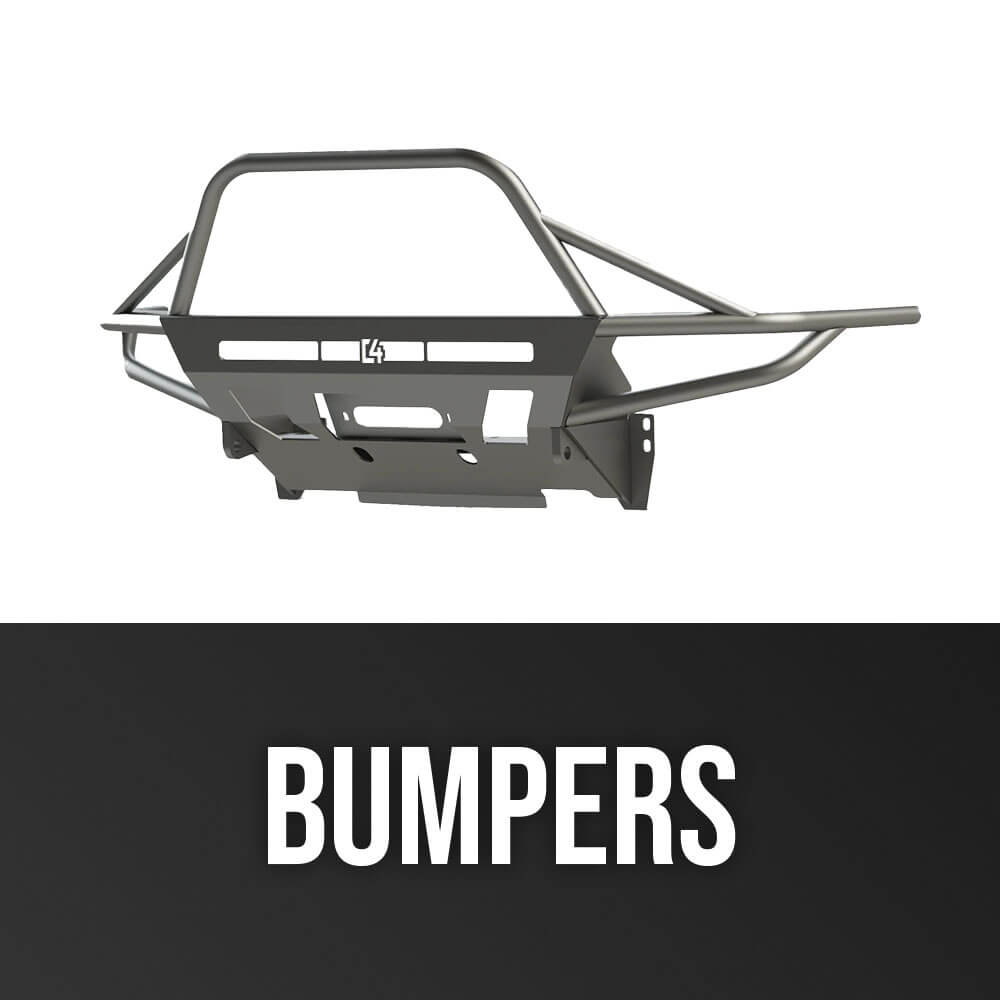
Welcome to our comprehensive guide on how custom truck bumpers are made! Today, we're taking you behind the scenes to witness the complete fabrication process of a Toyota Tacoma front bumper. If you're a truck enthusiast, off-roader, or simply curious about custom fabrication, this detailed walkthrough will give you unprecedented insight into the craftsmanship involved in creating these essential off-road modifications.
Even if you don't own a Tacoma, the techniques and processes shown here apply to most truck models, making this guide valuable for all truck owners considering aftermarket bumper options.
Materials and Tools Needed for Custom Bumper Fabrication
Before diving into the build process, let's review the essential equipment used in professional bumper fabrication:
-
Tubing bender
-
Angle finder
-
Vande saw (bandsaw)
-
Notcher/mill (even vintage ones work great!)
-
Welding equipment
-
Plasma cutter
-
DA sander
-
Various measuring tools
-
Sharpies and tape for marking
Step 1: Removing the Factory Bumper

The first step in any custom bumper build is removing the factory component:
-
Locate and remove the mounting hardware (three bolts on each side)
-
Carefully remove the factory bumper to create a clean platform for building
-
Protect surrounding areas with tape to prevent scratches during fabrication
The fabricator notes that removing the factory bumper immediately creates a significant weight reduction on the front end—a benefit many off-roaders appreciate.
Step 2: Planning and Initial Framework

With the factory bumper removed, the real fabrication begins:
Measuring and Planning
The fabricator first measures the truck's dimensions and marks critical reference points using tape. This helps ensure the new bumper will follow the body lines correctly while providing proper clearance for the radiator and other components.
Frame Mounting Considerations
For this high-performance build designed for a truck that will see aggressive off-road use:
-
The team decided to remove the factory subframe components
-
New mounting points directly to the frame were planned
-
Mounting locations were carefully selected for maximum strength
"On a truck at this level, you're going to have to work with modifying the frame. If you want it to be a good solid build, this isn't just a mall crawler truck." - Kal, the fabricator
Step 3: Main Tube Construction

The main tube forms the primary structure of the bumper and requires careful bending to match the truck's profile:
Tube Selection and Bending
-
Carefully measure the required tube length
-
Place tube in the tubing bender
-
Create precise bends to match body lines (approximately 37° for this build)
-
Test fit frequently to ensure proper alignment
The fabricator emphasizes that high-quality bumpers should follow the body lines perfectly: "I've always liked to see a bumper snug where it needs to be snug in the front. You want to kick it out a little bit to offer some protection, but on the corners, I like to have it just flush with the body—gives a cleaner look."
Notching and Fitting
Each tube requires precise notching to create perfect joints:
-
Cut tubes to length with the bandsaw
-
Use the notcher to create perfect miter cuts
-
Sand all contact points thoroughly for clean welds
-
Test-fit before tacking in place
Step 4: Support Structure and Lower Frame

With the main tube positioned, the build continues with the supporting framework:
Frame Modification
For this high-performance build, the team removed the factory crossbar to improve approach angle—a critical consideration for pre-runner style builds.
Supporting Tubes
Multiple supporting tubes were added:
-
Vertical supports connecting the main tube to the frame
-
Lower horizontal tubes for structural integrity
-
Additional bracing for radiator protection
Each tube requires precise measurement, cutting, and notching to create solid connection points. The fabricator constantly checks for symmetry and proper clearance throughout this process.
Step 5: Detail Work and Finishing

The final steps transform the framework into a complete bumper:
End Caps
-
Trace the tube profile onto sheet metal
-
Cut out the end caps using appropriate tools
-
Tack weld and test fit
-
Complete welding
-
Sand and blend for a seamless finish
Skid Plate Integration
-
Measure and cut sheet metal for the skid plate
-
Add appropriate bends to match the tube structure
-
Test fit before final installation
The fabricator notes: "This part is actually a part of the process with all our bumpers that people buy online. It gets welded, sanded, and blended. It takes a lot longer than people think."
Step 6: Final Welding, Finishing, and Installation

After all components fit perfectly, the fabrication process enters the final stages:
Complete Welding
The bumper is removed from the truck for complete welding of all joints. The fabricator demonstrates proper welding technique, including:
-
Cutting the tack weld ball before starting the final weld
-
Maintaining consistent weld quality
-
Ensuring full penetration at all joints
Surface Preparation
After welding, the bumper undergoes extensive finishing:
-
Initial grinding of welds
-
DA sanding for smooth transitions
-
Surface preparation for powder coating
Final Installation
After powder coating, the bumper is carefully installed back onto the truck with all mounting hardware secured properly.
Benefits of Custom Fabricated Bumpers
Custom-fabricated bumpers offer numerous advantages over off-the-shelf options:
-
Perfect fitment to your specific vehicle
-
Enhanced protection designed for your off-road needs
-
Improved approach angles for better off-road performance
-
Quality construction with full welds and proper bracing
-
Unique styling that sets your truck apart
Fabrication Insights and Pro Tips
Throughout the build, the expert fabricator shared numerous professional insights:
-
Disconnect the battery before welding on the vehicle to protect electronics
-
Leave small gaps between components that mount to rubber bushings to allow for movement
-
Check your Tacoma's core support for cracks (a common issue on trucks used off-road)
-
Always ensure symmetry by using reference bars across the bumper
-
Add subtle bends to tubes for both functional clearance and aesthetic appeal
Conclusion: Craftsmanship Makes the Difference
As this build demonstrates, creating a high-quality custom bumper involves significant expertise, specialized equipment, and meticulous attention to detail. While it may be tempting to purchase cheaper, mass-produced alternatives, the performance, fitment, and durability of a properly fabricated bumper can make a substantial difference in both appearance and function.
Whether you're planning to have a custom bumper built or are interested in fabricating one yourself, understanding this process helps you appreciate the craftsmanship involved and make informed decisions about your truck's modifications.
FAQ About Custom Tacoma Bumpers:
How long does it take to fabricate a custom bumper?
A professional custom bumper typically requires 15-20 hours of skilled labor from start to finish.
How much does a custom fabricated bumper typically cost?
Custom fabricated bumpers generally range from $1,200-$2,500 depending on design complexity, material choice, and finish options.
Will a custom bumper affect my truck's warranty?
Modifications like custom bumpers may affect certain aspects of your vehicle warranty. Consult with your dealer for specific information.
What material is best for custom bumpers?
Most high-quality custom bumpers use DOM (Drawn Over Mandrel) steel tubing in various diameters and wall thicknesses, typically 1.75" to 2" diameter with 1/8" to 3/16" wall thickness.
Do I need to modify my truck's frame for a custom bumper?
Some designs require frame modifications, while others utilize existing mounting points. The level of modification depends on your performance requirements and design preferences.

























Leave a comment