


Ultimate Toyota Tacoma Build: How I Transformed My 2024 Tacoma with $15,000 in Upgrades
 There's nothing quite like transforming a brand-new truck into something that's uniquely yours. While the 2024 Toyota Tacoma comes with impressive capabilities straight from the factory, a few strategic modifications can take it from great to exceptional. Today, we're walking through the step-by-step process of my Toyota Tacoma build, turning a stock 2024 model into a dream daily driver with approximately $15,000 in premium upgrades.
Whether you're planning your own Toyota Tacoma build or just appreciate watching a quality project come together, this guide will show you what's possible with the new platform. We'll cover everything from headlight upgrades to suspension improvements and share insights on what makes these modifications worthwhile for daily driving.
Table of Contents
Starting with the Front End: Headlight Upgrade

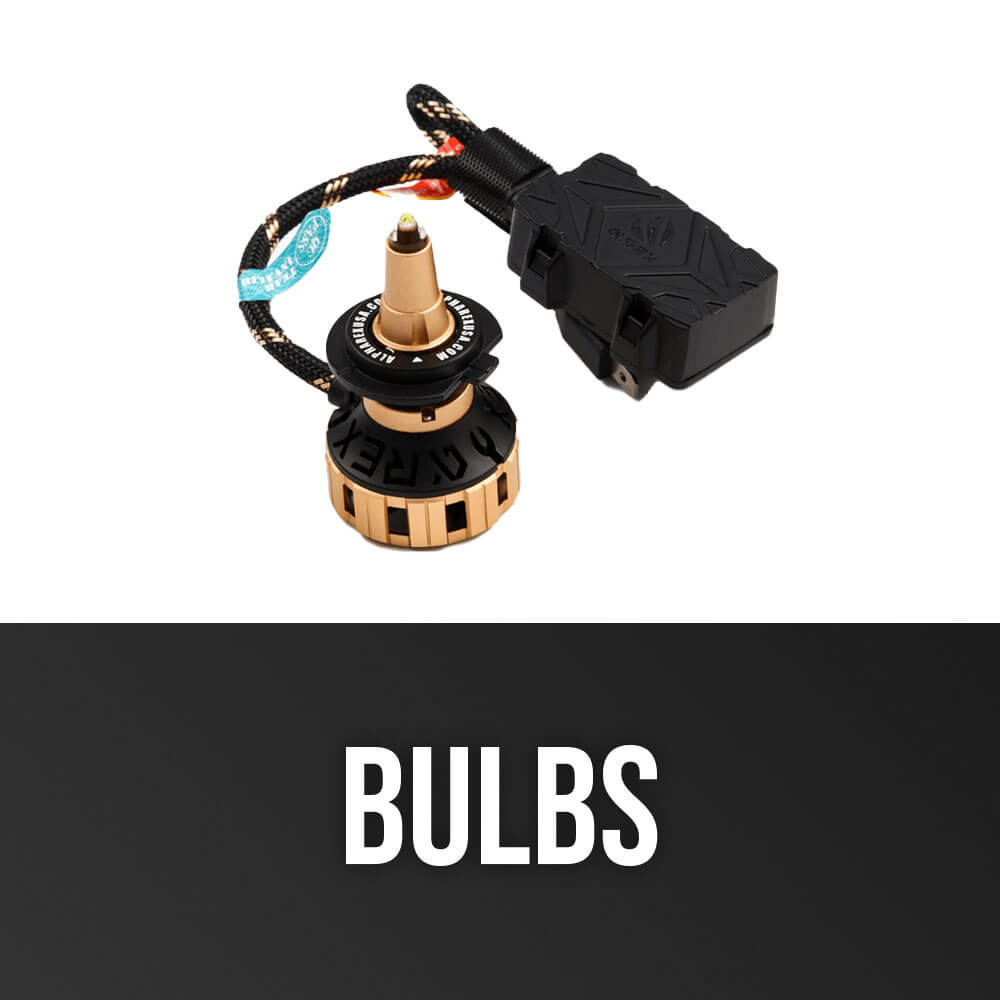
The first modification we tackled was upgrading the headlights with the new AlphaRex Pro Series LED headlights. These are specifically designed for the 2024 Tacoma and feature three projectors along with customizable daytime running lights (DRLs).
Removing the Factory Front End
Unlike the 3rd gen Tacoma, where the grille simply pops out, the 4th gen requires removing the entire front end assembly. Here's how to do it:
-
Start by removing the plastic piece that attaches to the grille and core support
-
Disconnect the three electrical connectors exposed under this piece
-
Remove the two plastic tabs at the center of the grille
-
Remove the 10mm bolts (two on each side) and plastic nuts securing the front end
-
Detach the fender liner by removing two 10mm bolts to expose additional attachment points
-
Once all fasteners are removed, gently pull the entire front assembly away from the truck
-
Note that there's one additional connector on the driver's side that needs to be disconnected
Once the front end is removed, you'll have clear access to the headlight assemblies, which are secured by four 10mm bolts each.
Installing the AlphaRex Headlights
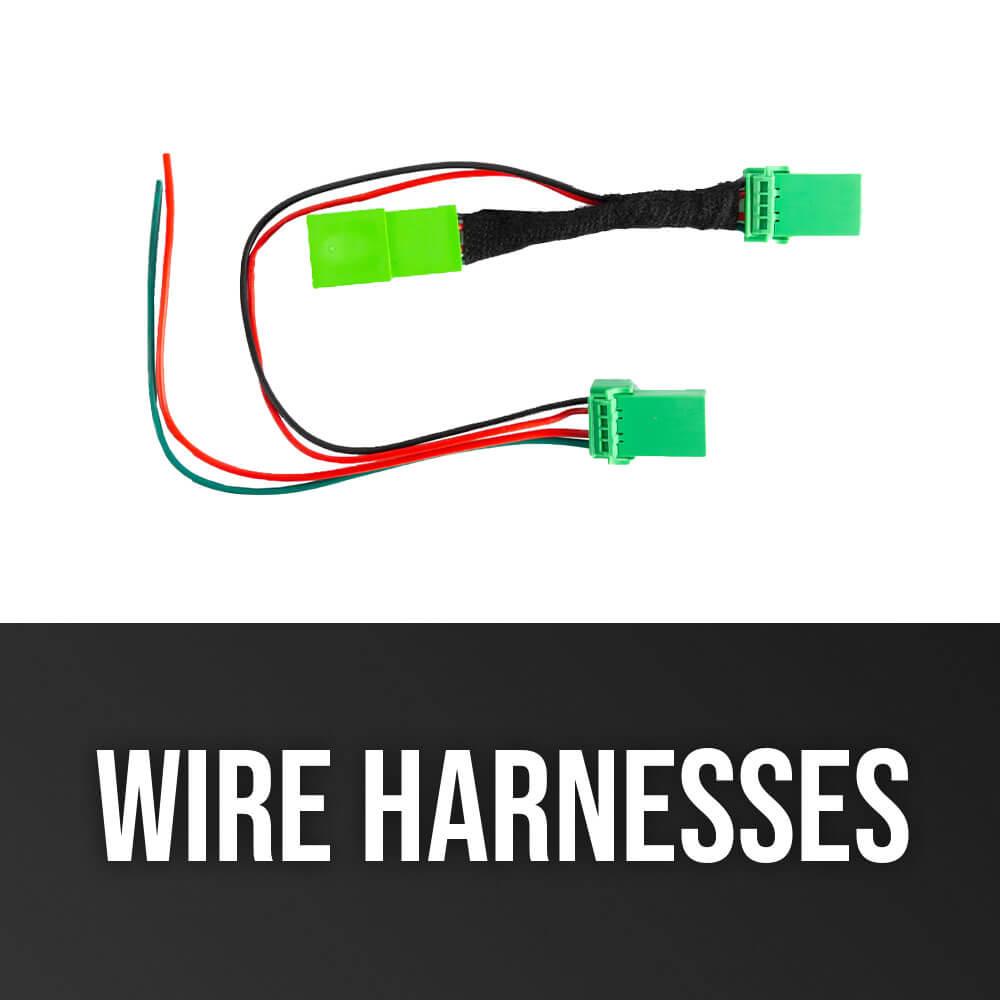
The installation process is straightforward. First, remove the four 10mm bolts securing each factory headlight and disconnect the factory wiring harness. Then connect the provided wire harness to the new AlphaRex headlights before mounting them in place and securing with the factory bolts. Finally, connect the wire harness to the vehicle's electrical system to complete the installation.
One of the coolest features of these headlights is the ability to switch the DRLs from white to amber. For the prototype model we installed, this required physically connecting two wires inside the headlight housing. The production models will feature app control that allows you to change colors and activate the light sequence on demand, making customization much simpler for the end user.
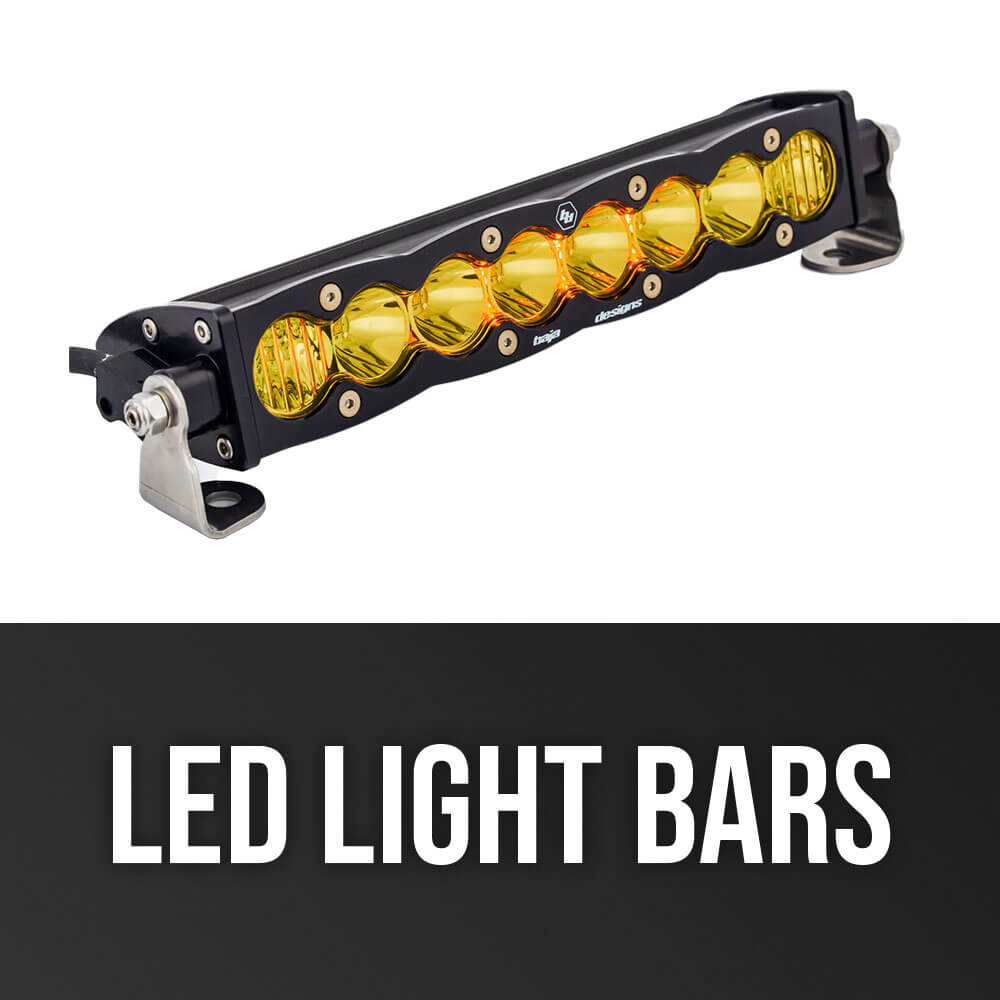
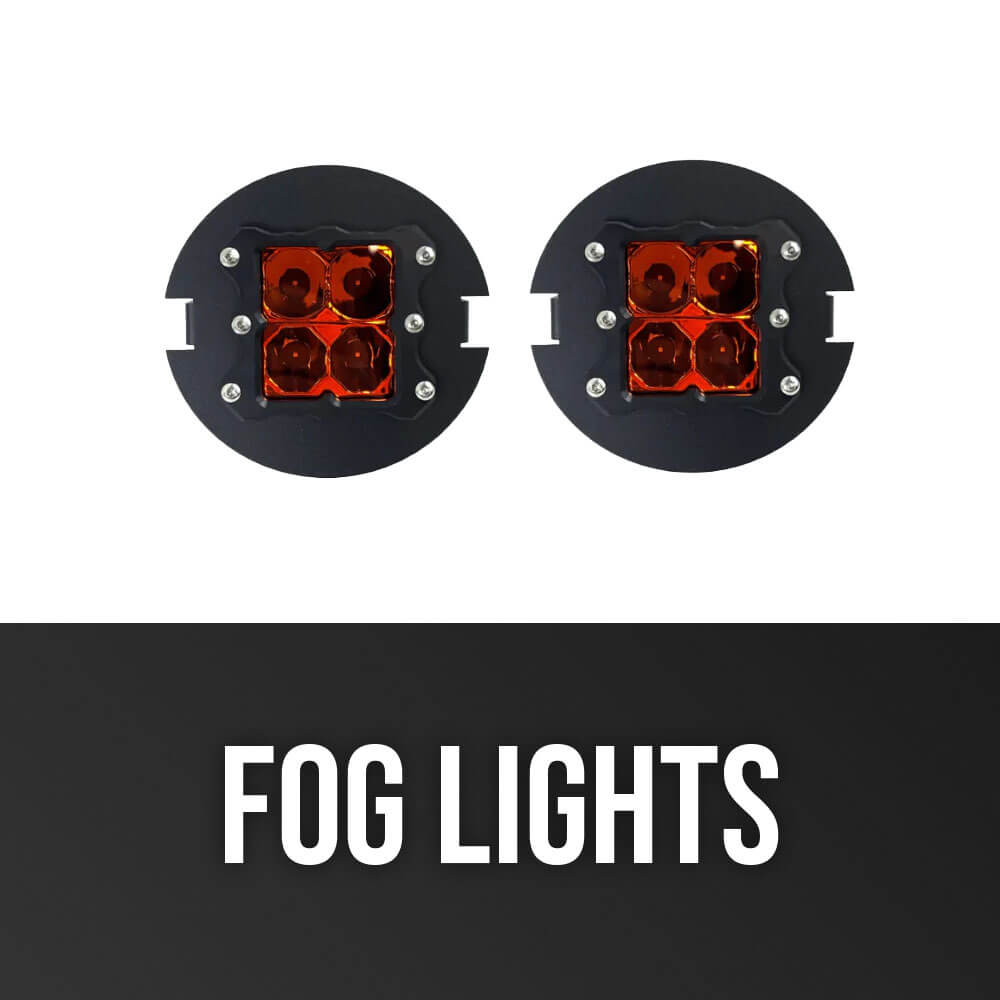
Fog Light Upgrade: Baja Designs S2 Lights

With the front end already removed for the headlight installation, it was the perfect time to upgrade the fog lights with Baja Designs S2 lights, which are SAE-rated for street legal use in all states.
Removing the Factory Fog Lights
-
Remove the six 10mm bolts securing the radiator shutters on each side
-
Disconnect the electrical connectors for the shutters
-
Remove all screws holding the plastic plate underneath the bumper
-
Disconnect the two fog light connectors and flip the bumper over
-
Remove the two screws securing each factory fog light
-
Pull out the factory fog lights and disconnect their wiring
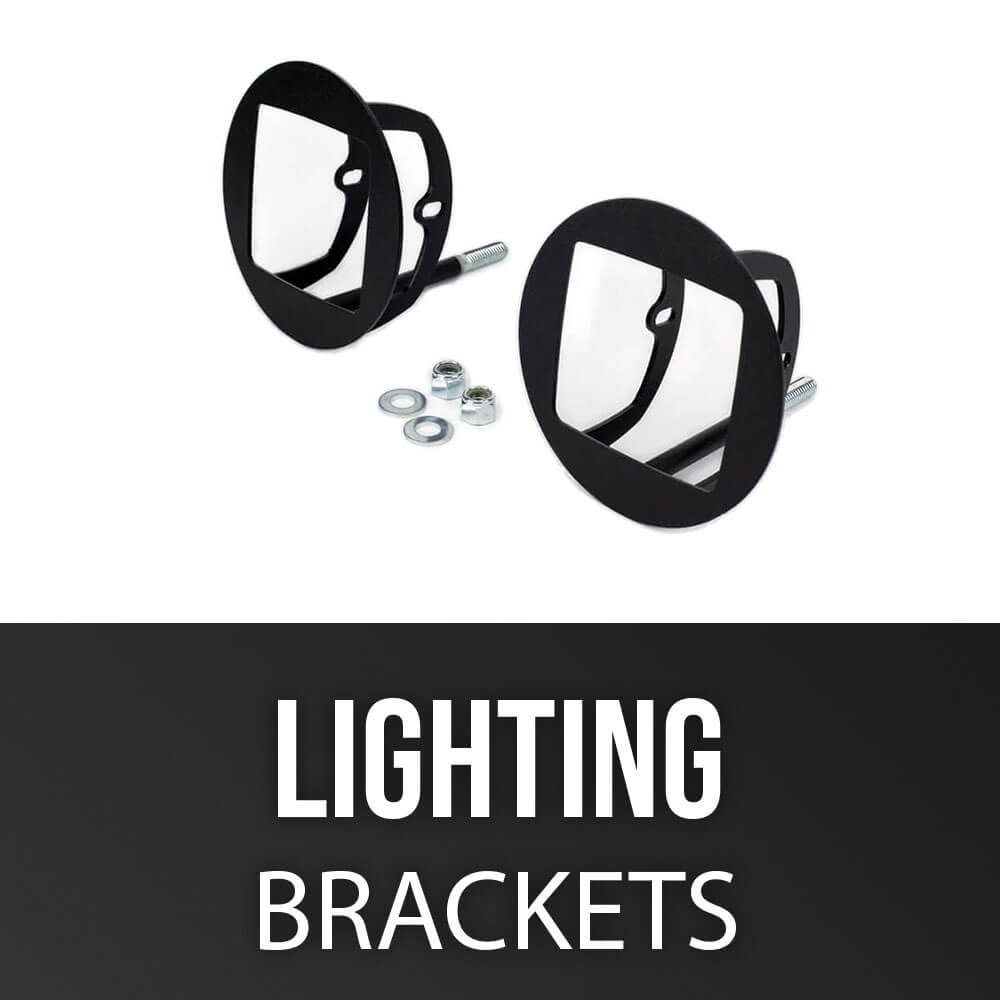
Installing the Baja Designs S2 Lights
The installation process involves assembling the provided mounting brackets and attaching them to the S2 lights. Once assembled, you'll mount the lights to the bumper using the factory mounting locations, then connect the provided plug-and-play wiring harness. After securing all wiring with the provided zip ties, you can reassemble the bumper components and reinstall everything to the vehicle.
Baja Designs is one of the few companies in the off-road industry manufacturing their products in America, and the quality of their lights and mounting hardware really shows. The plug-and-play wiring makes installation clean and straightforward, while their precise engineering ensures optimal fitment with minimal hassle.
Simple but Effective: Removing the Mud Flaps
Sometimes the simplest modifications make a surprising difference. Removing the factory mud flaps instantly improves the truck's appearance and gives the illusion of increased clearance. This mod requires just a screwdriver and takes less than five minutes:
-
Remove the four screws securing each mud flap
-
Be sure to replace the screws back into the fender liner to maintain its attachment
This zero-cost modification makes the truck look significantly better, especially once larger tires are installed.
Suspension Upgrade: King 2.5 Coilovers and Shocks

For the suspension portion of our Toyota Tacoma build, we went with King 2.5 coil overs for the front and King shocks for the rear. These premium components provide both performance gains and a small lift to accommodate larger tires - essential elements of any quality Toyota Tacoma build.
The suspension installation involves removing the factory coilovers and shocks, installing the new King 2.5 coilovers in the front, installing the King shocks in the rear, and adding a 1-inch spacer in the rear to give the truck a slight rake.
One of the standout features of the King coilovers is their adjustable compression settings, allowing you to dial in the perfect ride whether you're on the highway or tackling off-road trails. The machined reservoir fins help with cooling during extended off-road use, making this a premium choice for any serious Toyota Tacoma build.
Upper Control Arms: Total Chaos for Proper Geometry
When lifting a Tacoma, it's crucial to maintain proper suspension geometry. With the addition of the King coilovers adding approximately 2.5 inches of lift, we installed Total Chaos upper control arms to ensure the ball joint operates at the correct angle.
The stock upper control arms would place too much strain on the ball joints at this increased height. The Total Chaos arms are designed specifically to correct the geometry and provide additional strength, resulting in a suspension system that's both properly aligned and incredibly durable.
Wheels and Tires: Going Bigger Without Major Modifications

One of the most exciting improvements with the 4th gen Tacoma is how much easier it is to fit larger tires in your Toyota Tacoma build. For this project, we opted for BFGoodrich KM3 tires, sized at 35×12.5R17, mounted on Method Race Wheels HFX1 in 17×8.5 with 0 offset. The aggressive tread pattern of the KM3s provides excellent off-road traction while still delivering reasonable on-road manners for daily driving.
Unlike the 3rd gen Tacoma, which requires a body mount chop or relocation to fit 35-inch tires, the 4th gen only needs minimal trimming of the plastic fender liners. This is a huge improvement for anyone working on a Toyota Tacoma build with larger tires, making it much more accessible for the average owner to upgrade to a more aggressive stance without extensive modifications.
It's worth noting that the 4th gen Tacoma has a significantly different wheel offset compared to previous generations. The factory wheels have a +55 offset, which is unusually high. For our build, a zero offset wheel provided the ideal stance. This is a major change from the 3rd gen, where negative offsets (-25 to -35) were typically needed for proper fitment.
Taillight Upgrade: AlphaRex LED Taillights
To complement the headlight upgrade, we installed AlphaRex LED taillights. The installation process is simple:
-
Remove the two 10mm bolts at the top and two at the bottom of each taillight
-
Release the two tabs holding the taillight in place
-
Disconnect the electrical connectors
-
Install the new taillights by reversing the process
These taillights feature a distinctive light sequence that gives the truck a premium, modern appearance. One thing to note is that the prototype taillights we installed didn't include the tailgate drop button that comes standard on the 2024 Tacoma. The production models will include this functionality.
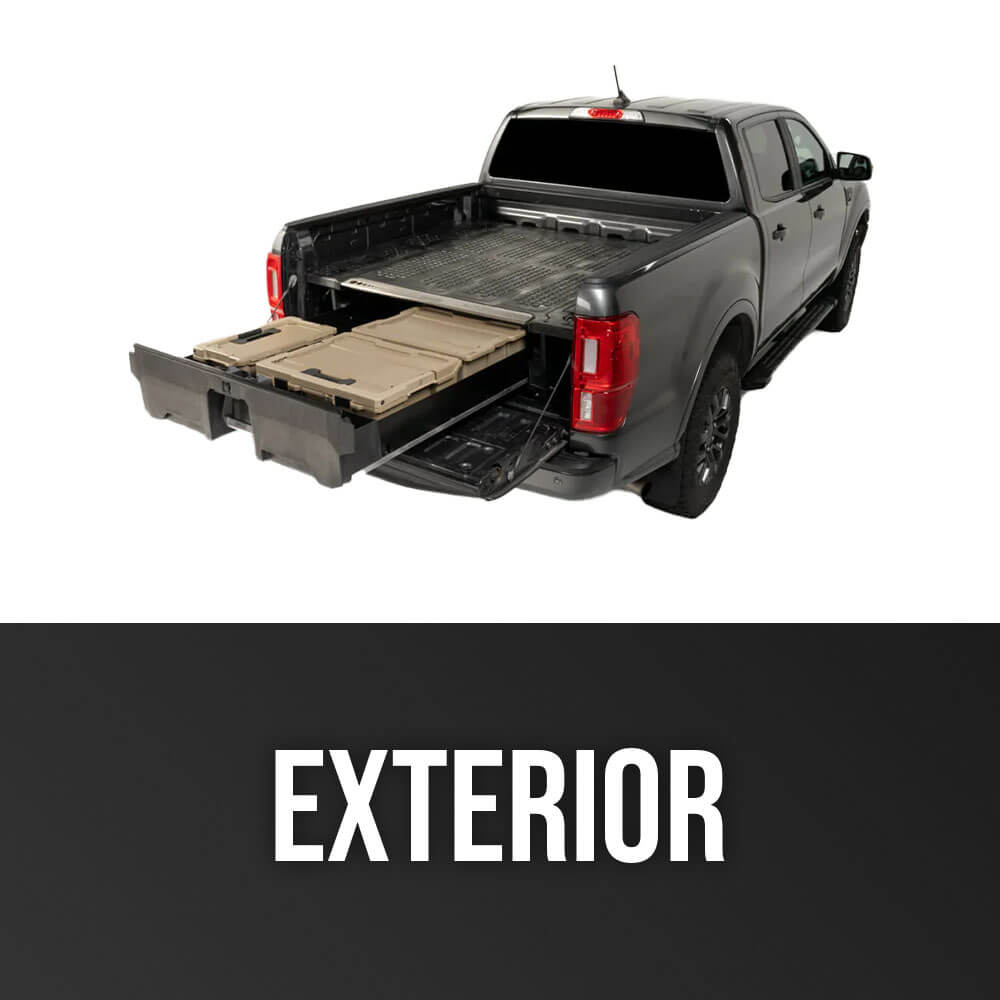
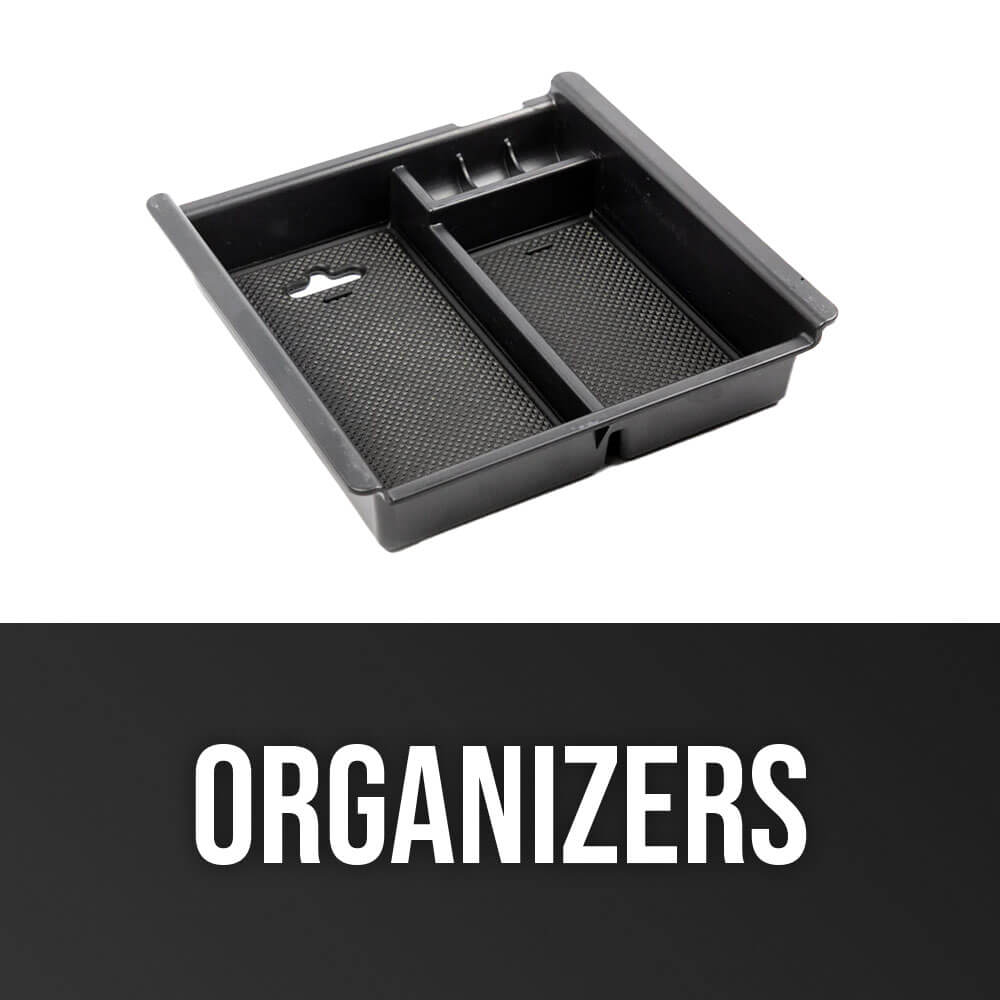
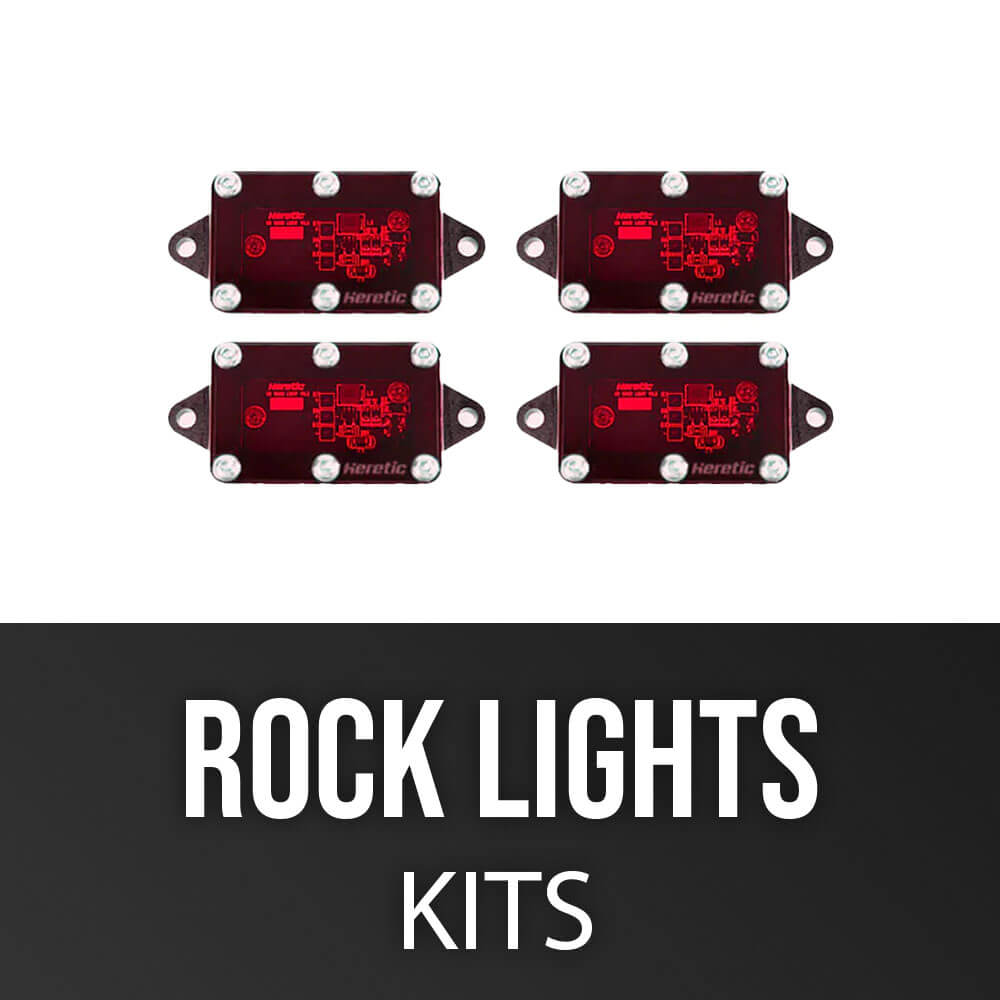
Bed Organization: TacomaBeast Bed Organizer System

One of the most frustrating issues with any pickup truck is having smaller items sliding around in the bed. To solve this problem, we installed the TacomaBeast modular bed organizer system. This simple but ingenious solution uses interlocking plastic pieces that create customizable dividers and secure points throughout your truck bed.
The system includes floor pieces, dividers, wheel cribs, and tie-down points that can be quickly reconfigured for different cargo needs. Whether you're securing groceries, propane tanks, or work equipment, the organizer prevents items from shifting during transit while still allowing full use of your bed when needed for larger loads. At under $200, it's one of the most practical and affordable upgrades you can make to your daily driver Tacoma.
Finishing Touches: Tacoma Beast Decals
To complete the build, we added Tacoma Beast bed and windshield decals. These subtle branding elements add a distinctive touch without being overwhelming.
The Cost Breakdown: What Does This Build Cost?
Let's talk numbers. For this build, we invested approximately $15,000 in premium components and professional installation. The labor costs break down to about $850 for the King suspension and Total Chaos UCA installation, $200 for wheel and tire mounting with TPMS transfer, and $150 for mobile service.
The bulk of the investment went toward quality components: King suspension, AlphaRex lighting, Baja Designs fog lights, Method wheels, and BFGoodrich tires. While premium parts come with higher price tags, they deliver superior performance, durability, and a finished look that transforms the truck's capability and appearance.
This represents just phase one of our build—focused on core modifications that make the biggest impact for daily driving enjoyment.
Final Thoughts: Dream Daily Toyota Tacoma Build Achieved

The transformation from stock 2024 Toyota Tacoma to personalized dream daily is complete. This Toyota Tacoma build features premium LED lighting, King suspension, 35-inch tires on Method wheels, and practical upgrades like the bed organizer—all working together to create a truck that stands out from the crowd while delivering vastly improved performance.
What makes this Toyota Tacoma build special is that we've enhanced the truck without compromising its daily drivability. The suspension provides better ride quality, the larger tires and minimal lift create a commanding presence, and the lighting upgrades improve both safety and style.
This is just phase one—the beauty of a Toyota Tacoma build is that you can continue evolving your truck as needs change and new products emerge.
For all parts featured in this build, you can find them here at tacomabeast.com. Have questions about your own Toyota Tacoma build? Contact our team of Tacoma experts. Check out our YouTube channel for detailed installation videos and blog for the latest Tacoma news & updates.
What modifications are you planning for your Tacoma? Let us know in the comments!


Leave a comment